
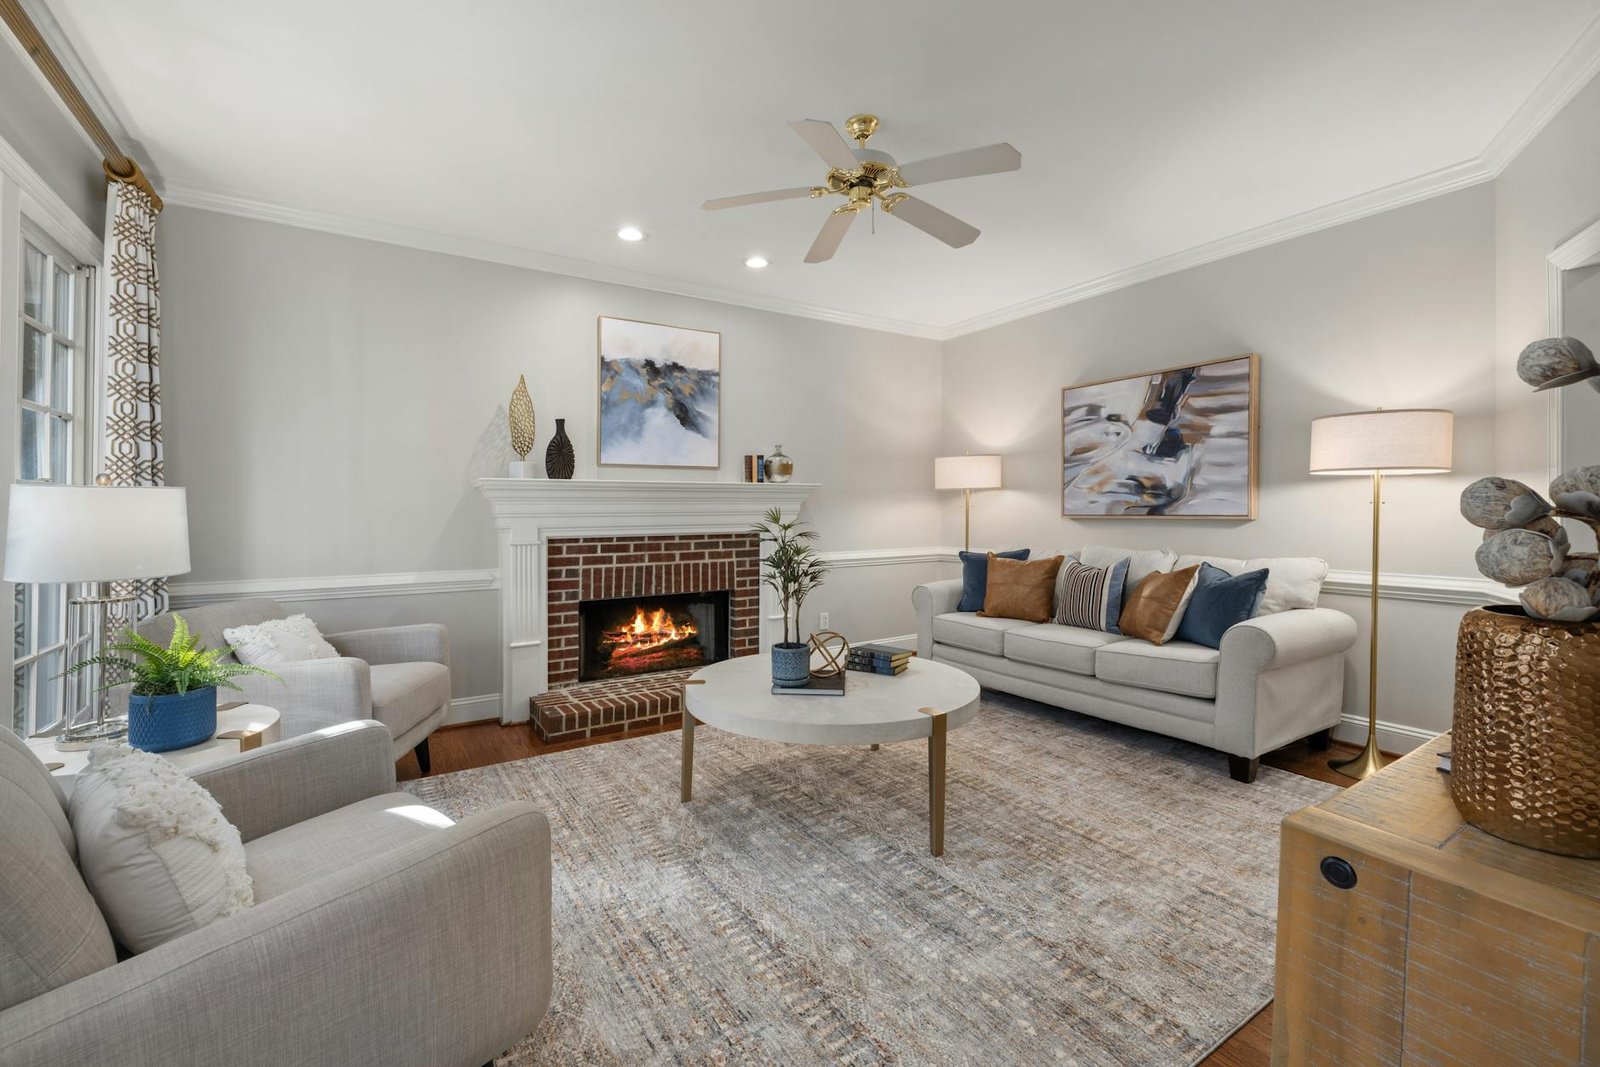
Even if a staged room appears warm in-person, it may look cold when photographed. The problem with this is not usually about the location of the sofa, the correct location for art or the specific styling of the space but rather, about the correctly expressed lighting plan for that room. Many sellers and stagers believe that if they create an atmosphere that appears “bright” in person, it will result in an equally great photo. Unfortunately this is usually not the case.
The expensive mistake is lighting for brightness instead of depth: every overhead light turned on, too few lamps at eye level, and bulbs that do not match. In photos, that erases separation between walls, furniture, rugs, and finishes. The result is a room that looks flat even when the staging itself is solid. That matters because the National Association of REALTORS® reported that 81% of buyers rated listing photos as the most useful feature in online home search, and NAR’s 2025 home staging research found that 83% of buyers’ agents said staging makes it easier for buyers to visualize a property as a future home. (nar.realtor)
TL;DR
- The core mistake is relying on overhead ambient light to make a room look bright instead of layering light so the camera can read shape and depth.
- For most staged rooms, keep visible bulbs in one color family. The Department of Energy says 2700 – 3600K is generally recommended for indoor general and task lighting. (energy.gov)
- Use the FLAT Score in this article before photo day to decide whether you need new bulbs, moved lamps, or a bigger fix.
- If your budget is tight, matched bulbs and better lamp placement usually beat another round of decorative accessories.
- Test every priority room on a phone before the listing goes live, because that is where buyers will judge the photos first.
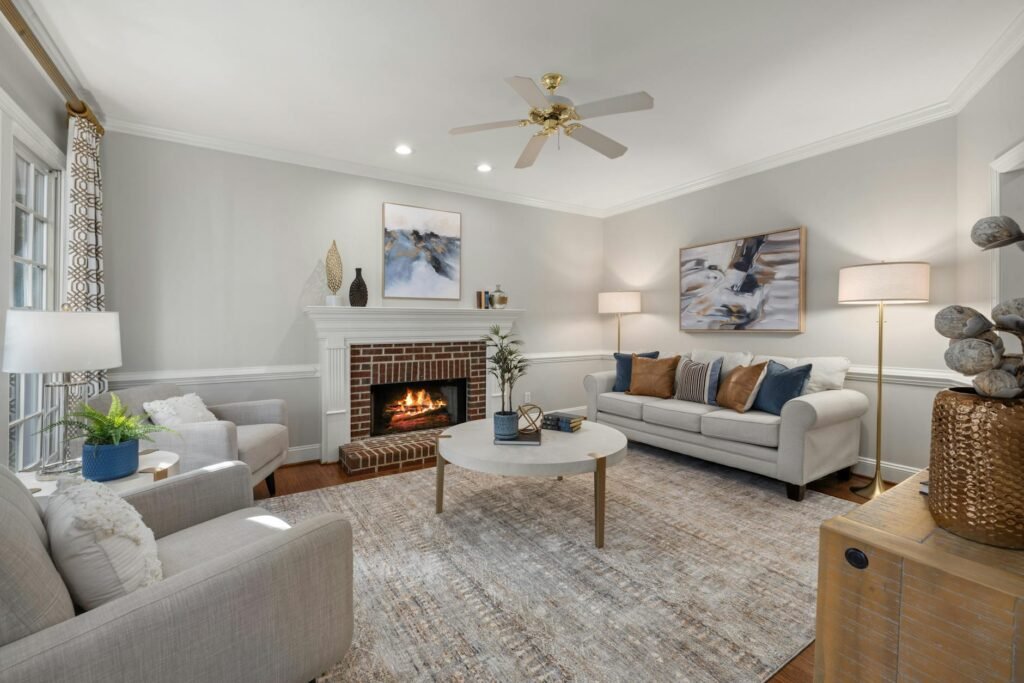
The real mistake: bright enough is not the same as dimensional
DOE breaks residential lighting into ambient, task, and accent lighting. That framework matters in staging because a room lit only by ambient light can look readable to the eye but lifeless in a photo. Cameras need contrast between planes: sofa against wall, chair against floor, art against paint, countertop against backsplash. When all the light comes from recessed cans or one ceiling fixture, those planes compress. (energy.gov)
Sellers often make the problem worse by adding more ceiling light. DOE’s guidance is useful here: more light is not automatically better, and light quality matters as much as quantity. In listing photos, too much top-down light can bleach pale walls, flatten texture, and create glare on wood floors, counters, and glossy tile. The goal is not maximum output. It is controlled depth. (energy.gov)
Use the FLAT Score before photo day
You can use your phone to take one full-size picture of the room from the entryway. Then rate each item on a scale from 0-2 for the room. If the room looks great in person, but has a low score here, then it will be quite disappointing in listing photos.
| Factor | 0 points | 1 point | 2 points | Fast fix |
|---|---|---|---|---|
| Fixture variety | Ceiling lights only | Ceiling lights plus one useful lamp or window source | Light arrives from at least two heights, such as ceiling plus lamps or window plus lamps | Add or borrow two eye-level lamps before buying more decor |
| Light-color match | Visible bulbs are obviously mixed warm and cool | Mostly matched, with one outlier | All visible bulbs stay in one color band | Replace the odd bulbs first |
| Angle and shadow | All the light comes straight down | Some side light, but it is weak | At least one side or accent source gives edges and texture definition | Turn off one harsh can and switch on lamps |
| Tone control | Windows blow out or corners go muddy | Minor exposure issue remains | You can see detail in the bright and dark areas at the same time | Adjust shades, dim overheads, and retake the test shot |
Interpreting the score – Six to eight indicates that the room is likely ready for photography. Four to five indicates that it is likely that light bulb replacement, lamp relocation, or small changes in styling will be required 0 to 3 means that you are trying to solve a lighting problem through accessories.
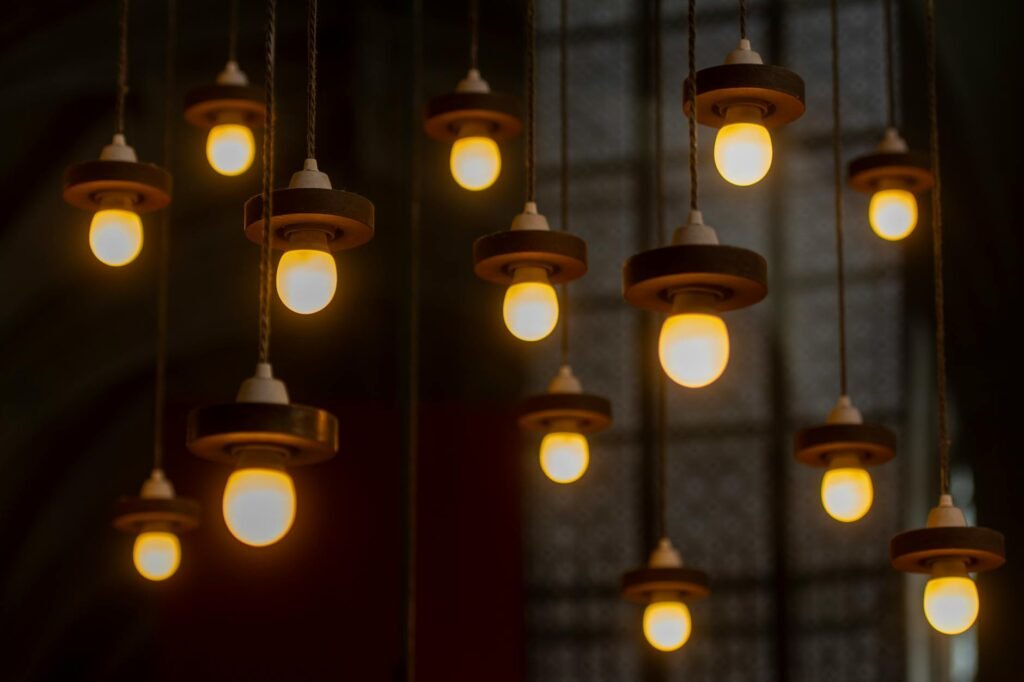
Spend where the camera actually notices
NAR’s 2025 Profile of Home Staging put the median cost of a paid staging service at $1,500. That is useful context, because once a seller is already spending real money on staging, the next dollars should go where photos improve, not where the room simply feels busier in person. (nar.realtor)
Many sellers are guilty of misallocation of their budgets at this point. They continue to buy pillows, bowls, throws, and others small decor, while still using a lead image to show 1 single beige wall, 1 single beige sofa, and 1 single beige rug (all of which blend) and without a proper photo that separates all of these items, you will never fix that problem with just getting more accessories. They probably also need better light as well!
A realistic pre-listing budget example
Composite example: A seller preparing a $485,000 listing sets aside $2,100 for pre-listing work. The plan is $1,500 for staging, $350 for cleaning, and $250 for last-minute styling purchases. That $1,500 staging figure is roughly in line with NAR’s 2025 median paid staging-service cost. (nar.realtor)
After a phone test, the living room and primary bedroom both score a 3 on the FLAT Score. Instead of spending the last $250 on more decor, the seller reallocates it: 12 matching LED bulbs at $8 each = $96; two rental table lamps and shades = $92; one dimmer-compatible bulb change plus low-cost cord management and plug solutions = $62. Total lighting correction: $250. The rooms now have light at ceiling height and eye level, better tonal consistency, and clearer separation between furniture and walls. That is a smarter use of the last dollars. NAR’s consumer guide says more than a quarter of real estate professionals reported that staging netted 1% to 10% more in the dollar value offered, but that should be treated as possible upside, not a promise for any individual seller. (nar.realtor)

Which fix makes sense for your room?
| Room situation | What the flat photo usually means | Lowest-cost move | When to escalate |
|---|---|---|---|
| Living room with recessed cans only | All the shape is coming from above, so the seating area reads as one block | Add two lamps at eye level near the sofa, console, or corners | If the room is large and dark, ask the photographer about supplemental lighting |
| Kitchen with mixed bulbs | Cabinets, counters, and pendants are reading different colors | Replace visible bulbs so pendants, cans, and under-cabinet lights feel consistent | If stone or stainless still flares, schedule the shoot for a different daylight window |
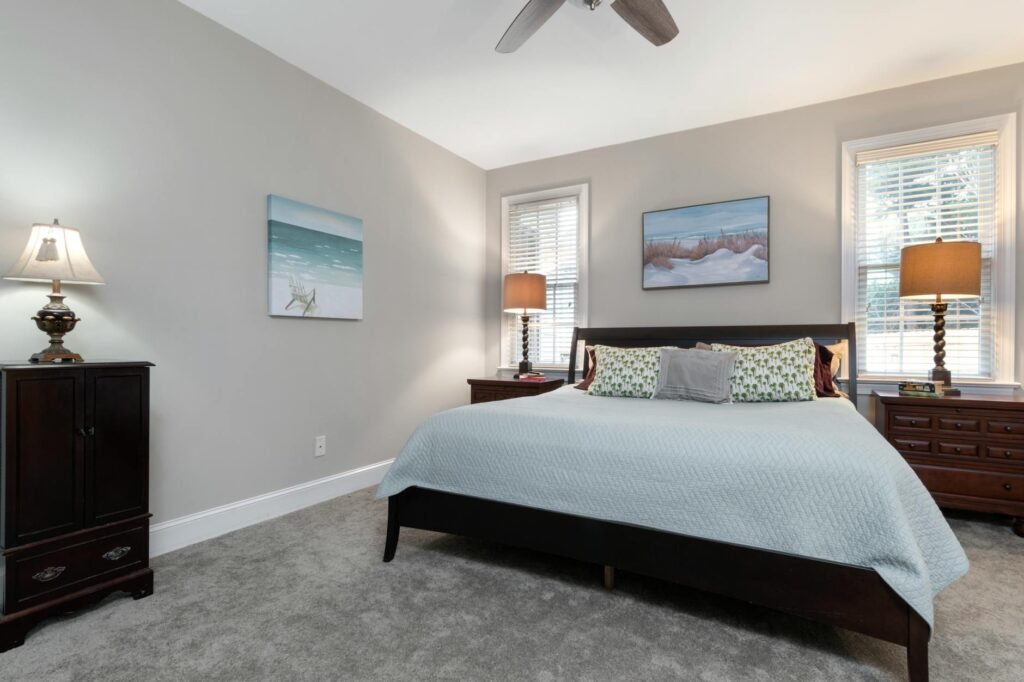
| Primary bedroom with one ceiling fan light | The bed becomes a dark mass against the wall | Use matching bedside lamps and reduce the harsh ceiling contribution | If the room is tiny, move lamps to a dresser or chest for the photo |
| Bathroom with bright mirror glare | The vanity is overlit while corners drop off | Use softer compatible bulbs and reduce one harsh source if needed | If the mirror still blows out, let the photographer bracket exposures |
| Entry or dining area with no visible lamp light | The room has no foreground-to-background transition | Add one console lamp, buffet lamp, or candle-style fixture that reads in the frame | If there is no outlet or fixture, use a temporary photo-day lamp solution |
When you buy bulbs, shop by output and light appearance, not by old watt habits. The FTC-required Lighting Facts label and DOE guidance help here. The label shows lumens, estimated yearly energy cost, lifespan, and light appearance. DOE also notes that CRI 80 is acceptable for most residential use, while CRI 90 or higher indicates excellent color fidelity. For staged homes, consistency matters first; after that, higher color fidelity can help wood floors, paint, and textiles read more accurately in photos. (energy.gov)
Room-by-room moves that create depth without looking fake
- For the living room, allow some of the light from outside in through the window during the day, but be sure to use table/standing lamps at either side of your furniture to help create a visually open space behind where the furniture sits.
- Primary bedroom: Avoid making the ceiling fan light the star. Bedside lamps usually create a better sense of scale, softness, and symmetry.
- In the kitchen, pendants and under-counter lighting can be used to create definition, however, if their bulbs are not in concert with the recessed lighting they may actually detract from the aesthetics of the space. The kitchen can also accommodate a whiter, cleaner light concept as long as it does not fall into the clearly blue category.
- Bathroom: Watch mirrors and polished counters. If the vanity is glowing like a billboard, the room will look cheap in photos even if the finishes are good.
- Dining area or entry: A single lamp on a console or sideboard can do more for depth than another centerpiece. The camera notices light layers faster than it notices one more decorative object.
Photo-day lighting reset
- Open shades and blinds where privacy allows. DOE recommends maximizing daylighting as part of indoor lighting design. (energy.gov)
- Remove or replace the obvious odd bulbs first. If one fixture reads cool blue while the lamp next to it reads amber, the camera will exaggerate the mismatch.
- Turn on lamps before you decide whether every ceiling fixture needs to be on. Eye-level light is often the missing layer.
- Reduce the harshest overhead source nearest the camera if it creates glare on floors, counters, or tabletops.
- Check the bulb package if you are shopping last minute. The Lighting Facts label helps you compare lumens, light appearance, and operating cost. (energy.gov)
- Take one wide phone shot from the doorway, then one from the opposite corner. If the room still reads as one flat tone, add side light before adding more decor.
- Look at the test image with your phone brightness turned down. If the room disappears on a small screen, buyers will likely have the same reaction.
Common mistakes that flatten a staged room
- Turning on every light in the room by default.
- Mixing warm table-lamp bulbs with cool recessed bulbs.
- Using one very bright ceiling-fan bulb as the entire bedroom lighting plan.
- Forgetting that lamps need shades to cast useful light and look finished in photos.
- Leaving the brightest light source behind the furniture instead of beside it.
- Blowing out the windows so the whole room looks gray by comparison.
- Trying to fix a bad photo with more accessories instead of better light.
- Buying bulbs without checking whether the fixture is dimmable or enclosed-rated when that matters.
One practical caution: DOE advises checking dimmer compatibility and enclosed-fixture suitability when you replace bulbs. That matters because a quick staging swap can create flicker, poor dimming, or shortened bulb life if the bulb and fixture are not a good match. (energy.gov)
When the easy fix is not enough
Occasionally, the architect has had to design the room as flat rather than to enhance the quality of staging. Sometimes these are north facing deep overhang rooms, windowless basements, shiny stone kitchens, dark walls, or excessively harsh down lighting crookedly evenly distributed across the room. All of these features could make changing a bulb very difficult. In these instances the additional lighting options will include borrowing lamps, using temporary plug-in lights, rescheduling the shoot for more suitable daylight hours, or paying an additional fee to the photographer for supplementary lighting and blending exposure.
Editing also has limits. NAR’s consumer guide says photo enhancements that materially alter the property should be disclosed. That means virtual help can polish honest photography, but it should not become a substitute for truthful lighting and accurate presentation. If the room is dark, fix the room first and let editing do cleanup, not fiction. (nar.realtor)
How to pressure-test the advice before the listing goes live
In each of your priority rooms, do a simple three-photo audit – one from the entrance, one from the corner and one of the best feature of the room. Then zoom in on each photo; can you see the trim around the window? Can you see the end of the sofa arm? Can you see the texture of the rug, bedding or countertop? If these details are not visible, even though the room looks bright, it is not dimensional.
One more test matters: look at the lead image on a phone, not just on a big monitor. Buyers usually encounter listings on small screens first, and listing photos are one of the most important online features in their search behavior. If the room looks muddy, washed out, or color-confused there, fix the light before you spend more money elsewhere. (nar.realtor)
Informational only: Home sale results vary by market, price point, and execution. Check MLS rules, local disclosure requirements, and your agent’s guidance before using edited or virtually staged images. For electrical changes beyond simple bulb swaps, use a licensed electrician. (nar.realtor)
Bottom line
The error in lighting when photographing staged homes makes them appear two-dimensional because of how the light creates volume over directional qualities; therefore, to create depth in staged rooms, they require multiple layers and coordinated bulbs as well as some amount of contrast controlled by the overall illumination so that the camera can detect the dimensions of the room. If you correct this error before purchasing additional decorative items, your entire staging budget will be much more likely to be visible to the potential buyer – in their pictures!
FAQ
Should all the lights be on for listing photos?
Not automatically. Start with the fixtures and lamps that help define the room, then reduce or dim the harshest overhead sources. DOE’s ambient, task, and accent framework is a better guide than the blanket rule of turning everything on. (energy.gov)
What bulb color is safest for staged-home photos?
For most indoor rooms, stay in one consistent warm-to-soft-white range rather than mixing warm and cool bulbs. DOE says 2700 – 3600K is generally recommended for indoor general and task lighting. (energy.gov)
Do I need expensive high-CRI bulbs for every fixture?
Usually not. DOE notes that CRI 80 is acceptable for most residential interiors, while CRI 90 or higher indicates excellent color fidelity. If you are only upgrading a few visible fixtures for photo day, that is where higher-CRI bulbs can be worth the extra cost. (energy.gov)
Can virtual staging fix flat lighting?
It can improve presentation, but it should not materially misrepresent the property. NAR’s consumer guide says material photo enhancements should be disclosed, so virtual tools should support honest photography, not replace it. (nar.realtor)
What should I check on the bulb package before buying?
Look for lumens, estimated yearly energy cost, lifespan, and light appearance on the Lighting Facts label. If the bulb is going into a dimmed or enclosed fixture, also verify compatibility so you do not create flicker or performance problems. (energy.gov)
References
- Department of Energy: Lighting Principles and Terms – https://www.energy.gov/energysaver/lighting-principles-and-terms
- Department of Energy: Lighting Design – https://www.energy.gov/energysaver/lighting-design
- Department of Energy: Lumens and the Lighting Facts Label – https://www.energy.gov/energysaver/lumens-and-lighting-facts-label
- Department of Energy: LED Basics – https://www.energy.gov/cmei/ssl/led-basics
- Federal Trade Commission: Shopping for Light Bulbs – https://consumer.ftc.gov/articles/shopping-light-bulbs
- National Association of REALTORS®: 2025 Profile of Home Staging – https://www.nar.realtor/sites/default/files/2025-05/2025-profile-of-home-staging-05-06-2025.pdf?utm.com=
- National Association of REALTORS®: Consumer Guide to Staging Your House for a Sale – https://www.nar.realtor/the-facts/consumer-guide-staging-your-house-for-a-sale
- National Association of REALTORS®: How to Maximize Online Visibility for Every Listing – https://www.nar.realtor/magazine/real-estate-news/sales-marketing/how-to-maximize-online-visibility-for-every-listing